Need tips on how to treat damp walls before painting? If you’re preparing to paint, dealing with damp walls is essential to ensure a smooth, long-lasting finish.
Ignoring damp can lead to several issues, including peeling paint, mould growth, and even structural damage over time. This guide will walk you through the steps to identify, treat, and prepare damp walls for painting, ensuring a flawless, durable result.
What Causes Damp in Walls?
Understanding what’s causing damp in your walls is the first step toward effective treatment. Dampness can stem from various sources, with each requiring a specific approach for proper treatment.
- Rising Damp: Often due to moisture coming up from the ground, rising damp affects walls close to the floor.
- Penetrating Damp: Caused by water leaking through cracks or gaps, penetrating damp is more common on exterior-facing walls.
- Condensation Damp: Frequently occurs in poorly ventilated rooms like bathrooms and kitchens, where moisture has difficulty escaping.
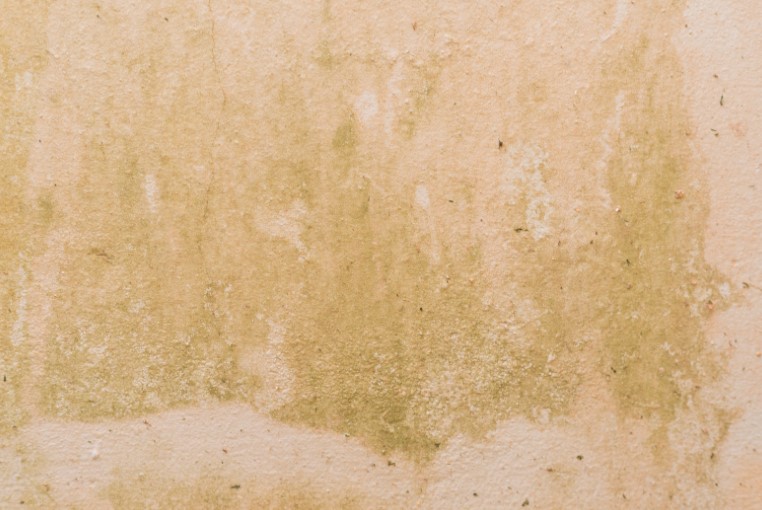
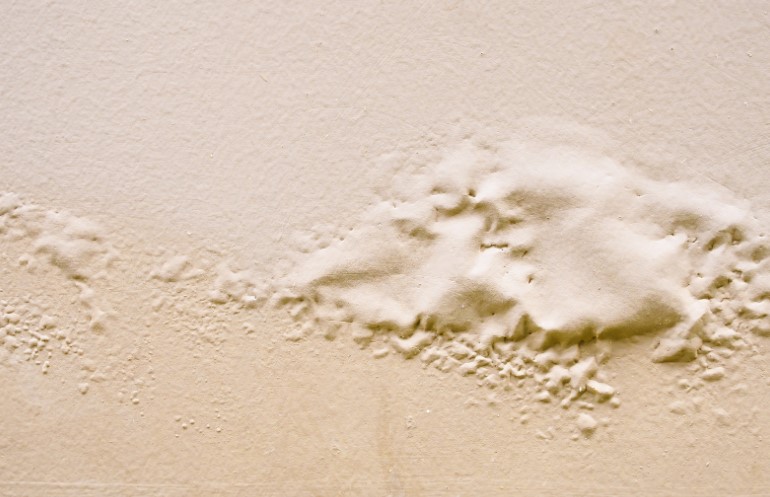
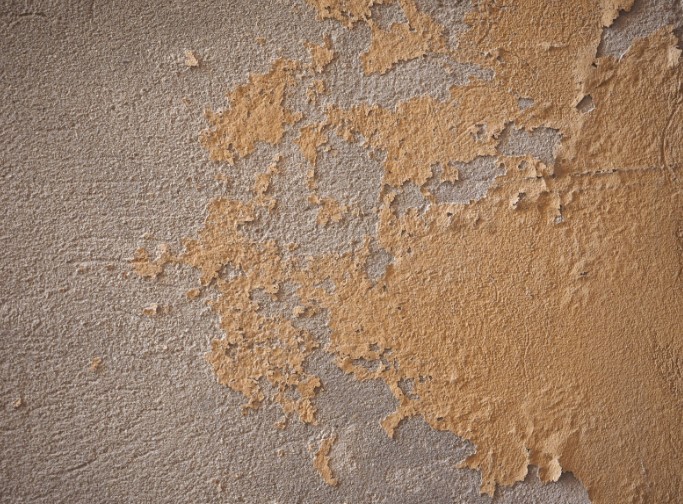
Signs of Damp include discolouration, a musty odour, and peeling paint. You might also notice mould patches or a powdery residue known as efflorescence, both of which are indicators of damp that need to be addressed before painting.

How to Treat Damp Walls Before Painting? – A Step-By-Step Guide
Step 1: Identify the Type of Damp and Source of Moisture
To properly treat damp walls, pinpointing the moisture source is crucial. Here’s how:
Assess the Damp Type:
- Rising Damp: Typically manifests as a horizontal stain line on the wall, usually close to the ground.
- Penetrating Damp: Look for damp patches on external walls or near windows and doors.
- Condensation Damp: Often appears in cold corners of rooms or around windows and mirrors.
Locate the Source of Moisture:
- Use a moisture meter to gauge dampness in the wall.
- Inspect for leaks, such as roof or plumbing leaks, especially in areas near the damp spot.
- Identifying the source will help you determine the right treatment and prevent future damp problems.
Step 2: Drying Out the Damp Wall
Drying out the wall is essential before proceeding with any treatment. Here are a few methods to dry the damp wall effectively:
- Natural Ventilation: Open windows and doors to allow fresh air to circulate, especially on dry days. Using fans can also help air out the room.
- Dehumidifier: Placing a dehumidifier near the damp area can help extract moisture from the walls faster, particularly in closed-off spaces or during damp weather.
Drying Tips:
- Depending on the severity of the damp, drying can take anywhere from a few days to a couple of weeks.
- Check the wall periodically to see if it has fully dried before proceeding to the next step.
Step 3: Treating Damp Walls with Anti-Mould and Anti-Fungal Solutions
Using anti-mould treatments is essential to prevent damp-related issues from returning after painting.
1. Why Use Anti-Mould Treatment?
- Mould and mildew can grow back if not properly treated, affecting both the appearance and durability of your new paint.
2. Applying Anti-Mould Solutions:
- Clean the wall with an anti-mould spray or a solution of diluted bleach (1 part bleach to 3 parts water) to kill any existing mould spores.
- Allow the solution to sit for about 10 minutes, then gently scrub with a sponge or cloth.
Safety Tips: Wear gloves, ensure the room is well-ventilated, and avoid direct contact with bleach or anti-mould products.

Step 4: Preparing the Damp Wall Surface for Painting
Now that the wall is dry and treated, it’s time to prepare it for painting to ensure a smooth and even finish.
Remove Flaking Paint and Debris
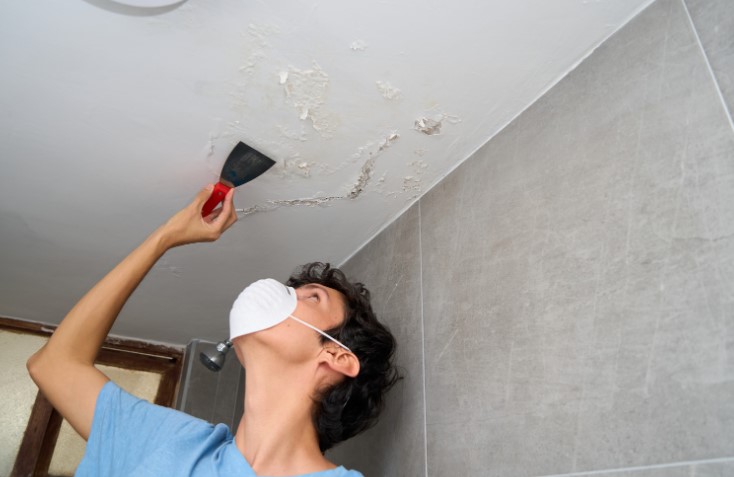
- Initialize by scraping off any loose or peeling paint using a paint scraper. Sand down rough patches and smooth out any uneven areas. This will create a stable base for your primer and paint.
Repairing Cracks and Holes
- If you notice cracks or holes in the wall, fill them with a wall filler or plaster compound. Allow it to dry and sand it down until the surface is even with the wall. Proper repair is crucial as it prevents water from seeping back in.
Applying a Damp-Resistant Primer or Sealer
Using a damp-resistant primer is essential in creating a barrier against moisture, protecting both the wall and the paint. Here’s how to apply it:
- Apply a Thin Coat: Use a brush or roller to apply a coat of moisture-resistant primer to the wall.
- Allow to Dry: Follow the manufacturer’s drying instructions, typically 4–6 hours.
- Inspect for Coverage: Ensure the entire wall is coated evenly to prevent any moisture infiltration.
This step seals the wall, ensuring your paint will adhere smoothly and stay vibrant over time.
Best Paint Options for Previously Damp Walls
Choosing the right paint can further protect against damp issues. Here are a few options:
- Moisture-Resistant Paint: Formulated to resist water penetration, making it ideal for damp-prone areas like kitchens and bathrooms.
- Anti-Mould Paint: Contains fungicides that prevent mould growth and help maintain a fresh look over time.
- Anti-Condensation Paint: This paint can reduce moisture buildup and help prevent condensation damp in humid areas.
Each of these paints offers added protection and is ideal for treating walls that have had past moisture problems.

Summary of Wall Treatment Steps and Recommended Products
| Treatment Step | Purpose | Recommended Products |
| Identify and Dry Damp | Locate and remove moisture source | Dehumidifier, moisture meter |
| Anti-Mould Treatment | Prevents mould and mildew | Anti-mould spray, diluted bleach |
| Surface Preparation | Smooths surface for even paint | Sandpaper, wall filler |
| Damp-Resistant Primer Application | Protects paint from future moisture | Moisture-resistant primer |
Conclusion
Treating damp walls before painting may require a bit of extra time, but it’s essential for a professional-looking, long-lasting paint job.
By following the guidelines on how to treat damp walls before painting and by identifying the cause, drying the wall thoroughly, and using anti-mould treatments and a good primer, you’ll ensure that your freshly painted walls stay smooth, vibrant, and damp-free.
Remember to check walls periodically, especially in moisture-prone areas, to keep them in top condition.
FAQs About Treating Damp Walls
1. How long should I wait to paint after treating damp walls?
Allow walls to dry completely before painting, which can take a few days to weeks, depending on the level of dampness. Make sure all primer and treatments are fully set before painting.
2. What’s the best way to tell if my wall is still damp?
You can use a moisture meter to check for dampness or touch the wall to see if it feels cold or moist. If there are any signs of lingering moisture, wait longer to avoid compromising the paint finish.
3. Can I use regular paint after treating a damp wall?
While you can use regular paint, choosing a moisture-resistant or anti-mould paint will provide better long-term results and prevent future damp-related issues.
4. How can I prevent dampness from returning after painting?
Ensure that you have identified and resolved the source of moisture, whether it’s leaks or poor ventilation. Additionally, using damp-resistant paint or anti-mould treatments will help protect the wall in the future.


0 Comments