A well-sealed freezer door is essential for keeping your food fresh and your energy bills low. When the door seal, also known as the gasket, starts to fail, cold air can escape, leading to frost build-up, spoiled food, and higher electricity costs. In this guide, I’ll walk you through the steps on how to fix a freezer door seal and ensure it’s working effectively.
What Are the Signs of a Faulty Freezer Door Seal?
Before you can fix a freezer door seal, it’s important to recognize the signs that it’s faulty.
Cold Air Escaping from the Freezer
One of the first signs of a faulty seal is cold air escaping from the freezer. You might notice that the area around the door feels cooler than the rest of the room or that the freezer isn’t maintaining its temperature as well as it used to.
Frost Build-up Inside the Freezer
If you’re seeing excessive frost or ice build-up inside your freezer, it could be due to a poor seal. When the gasket isn’t sealing properly, warm air can enter the freezer, causing frost to accumulate more quickly.
Difficulty Closing the Freezer Door
A worn-out or damaged seal can also make it difficult to close the freezer door properly. If the door doesn’t close smoothly or pops open after you’ve closed it, the seal may need to be repaired or replaced.
How to Inspect and Test Your Freezer Door Seal?
Once you suspect that your freezer door seal might be faulty, the next step is to inspect and test it.
Visual Inspection of the Seal
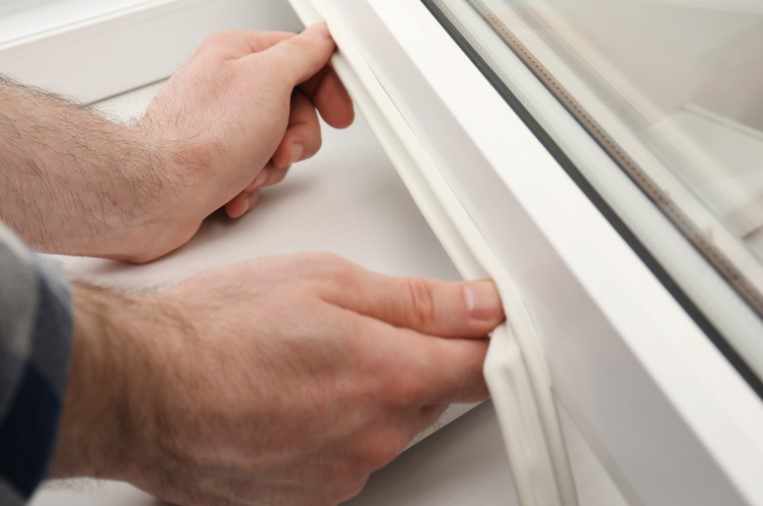
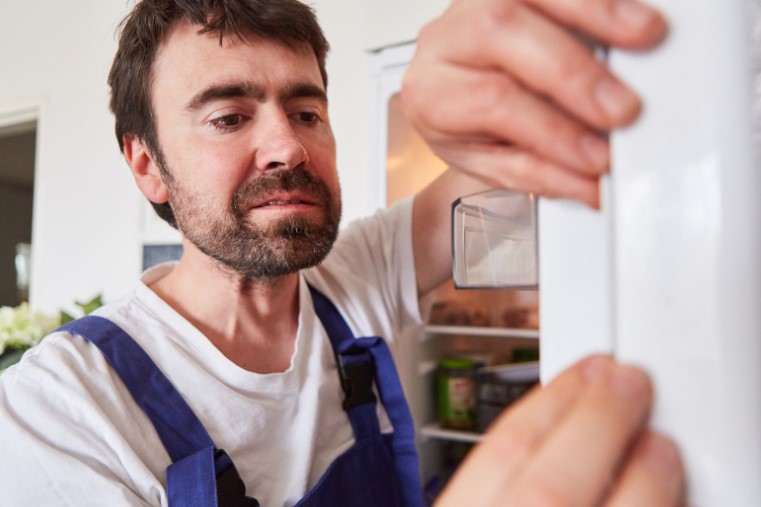
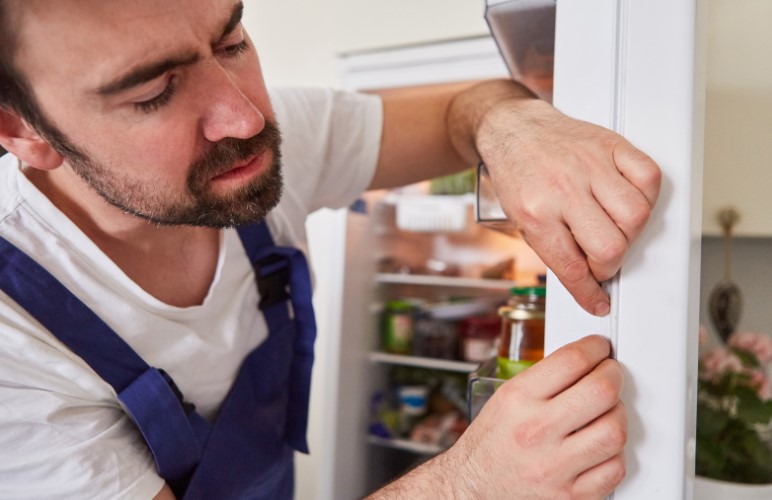
Start by visually inspecting the seal. Look for any cracks, tears, or deformities along the gasket. Also, check if the seal is pulling away from the door in any spots. These issues can prevent the seal from making a tight connection with the freezer, leading to cold air leaks.
The Paper Test
An easy way to test the effectiveness of your freezer door seal is the paper test. Close the freezer door on a piece of paper so that half of it is inside the freezer and half is outside. Try pulling the paper out—if it slides out easily, the seal isn’t tight enough and needs attention.
Checking for Cold Spots
An alternative way to check the seal is by feeling for cold spots around the door when the freezer is closed. If you can feel cold air leaking out, it’s a clear sign that the seal isn’t doing its job.

Step-by-Step Guide to Fixing a Freezer Door Seal
Now that you’ve identified the problem, it’s time to fix the freezer door seal.
Step 1: Clean the Seal and Door Surface
Before attempting any repairs, it’s essential to clean the seal and the surface it contacts. Dirt & grime can prevent the seal from forming a tight connection. Use warm, soapy water and a soft cloth to clean the gasket and the area around the door. Assure everything is thoroughly dry before proceeding.
Step 2: Realign the Seal
If the seal is out of alignment, gently pull or push it back into place. You want the seal to sit flush against the freezer door and the frame. If the gasket has become twisted or warped, you might need to work it back into its proper shape.
Step 3: Use a Hairdryer to Fix Warped Seals
Sometimes, a freezer door seal becomes warped, causing it to lose its shape. Hairdryer can be used to fic this. Set the hairdryer on a low heat setting and gently warm the gasket, being careful not to overheat it. As the gasket warms up, it will become more pliable, allowing you to reshape it by hand. After reshaping, close the door and let the gasket cool in place.
Step 4: Repair or Replace the Seal
If the seal has minor damage, such as small cracks or tears, you can try repairing it with gasket adhesive, which you can find at most hardware stores. Apply the adhesive according to the manufacturer’s instructions, and let it dry completely before using the freezer.
If the seal is damaged beyond repair, replacement is necessary. Most freezer models have compatible seals available, which you can typically find online or at an appliance parts store.
Step 5: Reattach or Replace the Seal
To replace the seal, start by removing the old gasket. Most gaskets are held in place by screws or clips, which can be easily removed with a screwdriver. Once the old gasket is out, align the new gasket with the door and secure it using the screws or clips you removed earlier. Make sure the new seal sits evenly and forms a tight seal when the door is closed.

Tips for Maintaining Your Freezer Door Seal
Once you’ve fixed your freezer door seal, it’s important to maintain it to prevent future issues.
Regular Cleaning and Inspection
Regularly clean the seal and inspect it for any signs of wear or damage. This simple maintenance step can extend the life of the gasket and keep your freezer running efficiently.
Avoiding Overstuffing the Freezer
Overloading the freezer can put extra pressure on the door seal, leading to damage over time. Make sure there’s enough space for the door to close properly without forcing it shut.
Preventing Ice Build-up
Excessive ice build-up can also compromise the seal. If you notice ice forming around the door or inside the freezer, it’s a good idea to defrost the freezer and remove the ice. Keeping the freezer well-maintained will help the seal last longer.
When to Call a Professional for Freezer Door Seal Repair?
While many freezer door seal issues can be fixed with a little DIY effort, there are times when it’s best to call a professional.
Persistent Issues After DIY Fixes
If you’ve tried fixing the seal yourself and the problem persists, it may be time to call in a professional. A technician can diagnose the issue and determine if there’s a deeper problem, such as a warped door or frame, that needs attention.
Complex Repairs
Some repairs, like replacing a warped door or fixing the freezer’s internal structure, are best left to the professionals. If you’re not comfortable doing the repair yourself or if the repair seems too complex, it’s worth getting expert help.
Conclusion
Fixing a freezer door seal is a straightforward task that can save you money on energy bills and keep your food fresh. By following these steps on how to fix freezer door seal and maintaining the seal regularly, you can extend the life of your freezer and avoid costly repairs. Remember, if you encounter persistent issues, don’t hesitate to seek professional assistance to ensure your freezer stays in top working condition.


0 Comments