by Kanimozhi BV | Feb 7, 2025 | Washing Machine, Appliances
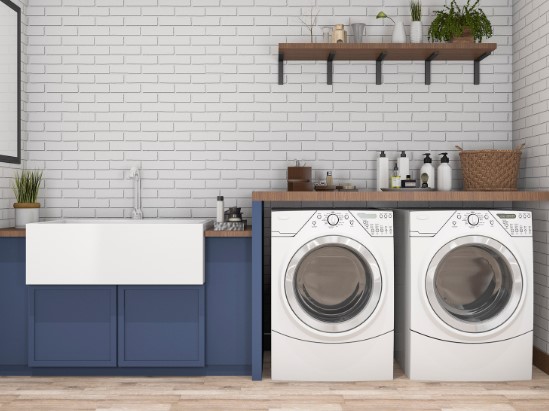
A washing machine that refuses to start can be frustrating, especially when you have laundry piling up. If your Beko washing machine won’t start, there could be several reasons behind the issue. From power supply problems to faulty door locks, understanding the root cause is essential for an effective fix.
In this guide, I will walk you through the most common problems like Beko washing machine not starting and provide step-by-step troubleshooting solutions to get it working again.
Why Is My Beko Washing Machine Not Starting?
1. Is the Power Supply Working?
Before assuming there is a major fault, check whether the washing machine is receiving power.
- Ensure the power cord is properly plugged in.
- Test the socket by plugging in another appliance.
- Inspect the fuse in the plug and change it if needed.
- Check the circuit breaker for any tripped switches.
If there is no issue with the power supply, move on to the next possible cause.
2. Is the Washing Machine Door Locked Properly?
Most modern Beko washing machines have a safety lock mechanism that prevents the machine from starting if the door is not closed properly.
- Make sure the door clicks shut firmly.
- Check for obstructions in the door seal that may prevent proper closure.
- If the door lock mechanism is faulty, it need to be replaced or altered.
3. Are There Error Codes Displayed?
Beko washing machines display error codes when something is wrong. If your machine won’t start, check if there is a code on the display panel.
Common Beko washing machine error codes related to startup issues:
| Error Code |
Meaning |
Possible Fix |
| E01 |
Door lock issue |
Ensure the door is properly closed, replace the door lock if faulty |
| E02 |
Water supply issue |
Check water tap and inlet hose for blockages |
| E03 |
Drainage problem |
Clean the drain filter and check the drain pump |
If your machine shows an error code, refer to the user manual for specific troubleshooting steps.
A malfunctioning start button or control panel could be the reason your Beko washing machine won’t start a cycle.
- Try pressing the start button firmly.
- If the panel is unresponsive, unplug the machine for a few minutes and plug it back in.
- If some buttons work but the start button does not, the control board may need repair.
5. Is the Water Supply Properly Connected?
Some Beko washing machines won’t start if they detect a water supply issue.
- Ensure the water tap is fully turned on.
- Check the inlet hose for kinks or blockages.
- If the inlet valve is clogged, clean or replace it.
6. Is There a Drainage Issue?
A blocked drain pump can prevent the machine from starting, often causing a clicking sound without beginning the cycle.
- Remove and clean the drain filter.
- Check the drain hose for clogs.
- If the pump is faulty, it might need replacement.
How to Fix a Beko Washing Machine That Won’t Start
Resetting your Beko washing machine can sometimes resolve startup issues.
How to reset a Beko washing machine?
- Unplug the machine for 5–10 minutes.
- Plug it back in and hold the start button for 5 seconds.
- Turn the machine off and on again.
- Try starting a new cycle.
2. Check the Power and Fuse
If there is no power, inspect the fuse and circuit breaker.
- Replace a blown fuse in the plug.
- Reset the circuit breaker if it has tripped.
- Try using a different power socket.
3. Inspect and Fix the Door Lock
A faulty door lock can protect the machine from starting.
- Check if the door is completely closed and latched.
- If the door lock is damaged, replace it with a new one.
- If the door switch is faulty, a technician may need to replace it.
4. Check Water Supply and Drainage
A washing machine may not start if it detects low water pressure or a blocked drain.
- Ensure the water tap is open and the hose is not twisted.
- Remove and clean the drain filter.
- If the drain pump is clogged, clean it out.
5. Diagnose the Control Panel
If the control panel is unresponsive:
- Press different buttons to check functionality.
- Try performing a reset.
- If the panel remains unresponsive, the mainboard may need repair.

Quick Troubleshooting Table
| Problem |
Possible Cause |
Solution |
| No power |
Plug issue, blown fuse |
Check plug, replace fuse |
| Door not locking |
Faulty door latch |
Ensure door clicks shut |
| Clicking sound, no start |
Drain pump clogged |
Clean drain filter |
| No water entering |
Blocked water inlet |
Check tap & hoses |
| Buttons unresponsive |
Control panel fault |
Try a reset, call a technician |
When to Call a Professional?
If you have tried all the troubleshooting steps and your Beko washing machine won’t start, it may require professional repair. Consider calling a technician if:
- The machine still doesn’t start after resetting.
- There is a burning smell or electrical sparking.
- The error codes persist even after troubleshooting.
- The control panel or mainboard appears faulty.
Conclusion
If your Beko washing machine not starting, the problem could be due to a power supply issue, door lock failure, water supply problem, or a faulty control panel. By following the troubleshooting steps outlined in this guide, you can identify and fix the issue in most cases.
For persistent problems, consult a professional technician to avoid further damage. Regular maintenance, such as cleaning the drain filter and checking the power supply, can help prevent startup issues in the future.
Related Article: Hotpoint Washing Machine F05 Error: What Is & How To Fix It?
by Kanimozhi BV | Feb 6, 2025 | Washing Machine, Appliances
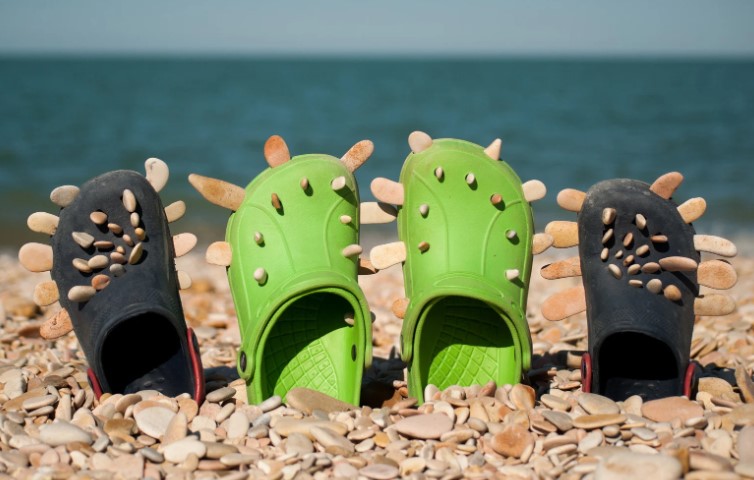
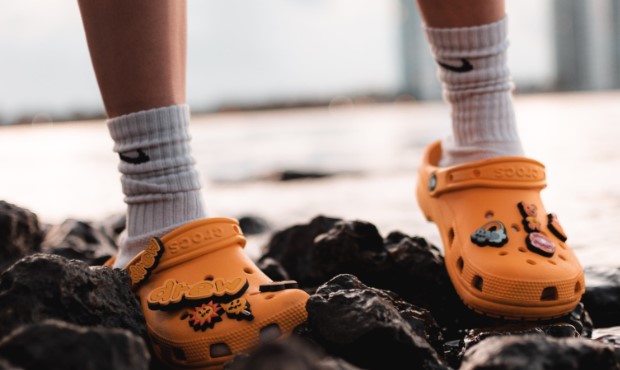
Crocs have long been a favourite of mine for their comfort, lightweight build, and resilience. Whether I’m out in the garden or heading to the corner shop, they’re my go-to.
But like any shoes, they eventually need a good clean. One common question that comes up is: can you put Crocs in the washing machine?
The answer depends on the type of Crocs you have. Some are perfectly fine to machine wash, while others require more delicate care. Let me take you through how to clean Crocs properly without ruining them.
Can Crocs Go in the Washing Machine?
Which Types of Crocs Can Be Machine Washed?
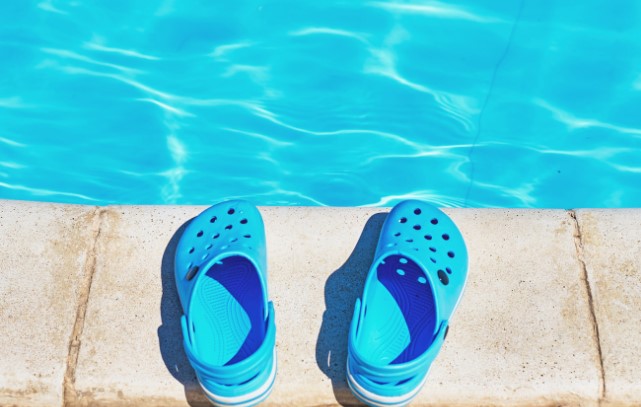
If your Crocs are made from Croslite™, which is the signature material used in classic Crocs clogs and some sandal designs, they can generally go into the washing machine. These types are sturdy enough to handle a gentle wash.
On the other hand, Crocs with fur lining, leather elements, or decorative additions held on with glue should be kept far away from the washing machine. The heat and motion of spinning in washing machine can damage these features beyond repair.
What Can Go Wrong in the Machine?
Putting the wrong type of Crocs into the washing machine can cause several issues. In the past, I’ve seen fur-lined pairs come out with matted linings and warped soles.
Others can shrink, lose shape, or even split at the seams. That’s why knowing what your Crocs are made of is key before washing them.

How to Wash Crocs?
Can You Put Crocs in the Washing Machine?
Yes, you can put Crocs in the washing machine, provided they’re made from Croslite™ and don’t have sensitive components. I always stick to a cold or lukewarm water setting and choose the delicate cycle. Hot water is a no-go, as it can cause the material to warp.
Before I place them in the machine, I give them a quick rinse under the tap to remove loose dirt. Then I tuck them into a mesh laundry bag or an old pillowcase.
This prevents them from bouncing too hard against the drum of the washer. Adding a couple of towels in the wash helps soften the impact too.
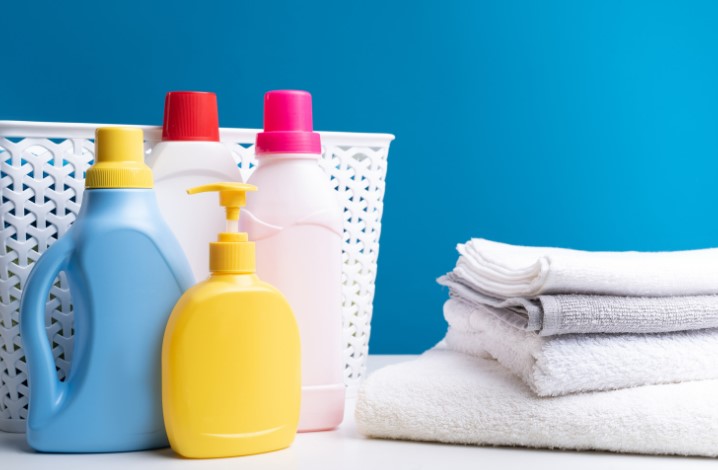
Should You Use Detergent?
Using a mild detergent is perfectly fine. I avoid bleach or anything with strong chemicals, as these can degrade the Croslite™. A small amount of regular laundry detergent in the detergent drawer does the trick without damaging the material or causing discolouration.
How to Clean Your Crocs with Washing-Up Liquid and Water?
Handwashing When Machine Washing Isn’t Suitable
If you own lined Crocs or those with leather elements, handwashing is the best route. I usually fill a basin with warm water and add a squirt of washing-up liquid.
Using a soft cloth or sponge, I gently clean the outer surface. If any areas are particularly grubby, a soft-bristled brush helps loosen the dirt without scratching the surface.
For the inside of the Crocs, I use the same soapy water with a clean cloth and wipe gently. It’s important not to soak lined Crocs, especially if they’ve got a furry inner layer, as this can take forever to dry and may develop a smell.
Getting Rid of Smells and Stains
Crocs can absorb odours over time. To freshen them up, I often sprinkle a bit of baking soda inside and let it sit overnight.
For tougher stains or scuff marks, a damp melamine sponge (commonly called a magic eraser) usually brings them right off. I’ve also tried a mix of white vinegar and water for a quick soak when smells linger – it works surprisingly well.
Can I Put Crocs in the Washing Machine If They’re Lined?
Why Fur-Lined Crocs Need a Different Approach?
Fur-lined Crocs are great for colder months, but they’re not suited to machine washing. The lining can become flattened, shed, or lose its softness.
In some cases, the interior fabric even separates from the sole. That’s why I always clean them by hand and treat them gently.
The Best Way on How To Wash Fuzzy Crocs
For these pairs, I dampen a soft cloth with warm soapy water and wipe down the exterior. To clean the lining, I use a slightly damp cloth and gently dab at the material.
If the fur holds odours, baking soda left overnight helps absorb the smell. I brush it out the next morning and let them air dry naturally. Heat is the enemy here, so I always keep them away from direct sunlight or radiators.
What is the Best Way to Clean Crocs?
My Routine for Keeping Crocs Fresh
Over the years, I’ve developed a cleaning routine that’s kept my Crocs in excellent shape. I usually give them a quick wipe once a week, especially after outdoor use.
When they start looking dull or a bit grubby, I go in with a deeper clean – either machine or hand wash depending on the style.
Storing Crocs in a cool, shaded area helps too. Leaving them in a hot car or next to a heater can warp the material or fade the colour. I’ve learned that the hard way.
What are the Common Mistakes to Avoid?
Many people make the mistake of using hot water or placing Crocs in the tumble dryer. Both can cause shrinking or deformation. Another issue I’ve seen is scrubbing too harshly, which can leave scuff marks or strip away colour.
Can You Wash Crocs in the Washing Machine Without Damaging Them?
How to Prevent Damage During Washing?
If you’re careful about the settings and preparation, washing Crocs in the machine can be completely safe. The trick is using cool water, a low spin cycle, and a laundry bag.
I also avoid overloading the machine – two or three pairs at a time are fine, but more than that increases the risk of damage.
Here’s a quick look at what I follow when machine washing my Crocs:
| Washing Step |
Recommendation |
| Water Temperature |
Cold or lukewarm |
| Wash Cycle |
Gentle or delicate |
| Spin Speed |
Low or off |
| Laundry Bag or Pillowcase |
Always use one to protect the shoes |
| Extra Protection |
Add towels to minimise impact |
Can Crocs Go in the Dryer?
One thing I never do is put Crocs in the tumble dryer. The high heat will almost certainly shrink or warp them. Instead, I let them air dry in a cool, shaded spot.
If I want to speed up the drying process, I stuff them with paper towels to help absorb the moisture and keep their shape.
Depending on the weather, they usually dry within a few hours. In winter, it can take longer, so I plan ahead if I need them the next day.
Conclusion: What’s the Safest Way to Wash Crocs?
In summary, yes, you can put Crocs in the washing machine – but only if they’re the right type. Classic Crocs made from Croslite™ can handle a machine wash on a gentle cycle, using cold water and mild detergent. For lined or more delicate designs, handwashing is the way to go.
The key to keeping your Crocs looking good is knowing what materials they’re made of and adjusting your cleaning method accordingly. With a bit of care and the right approach, they’ll stay fresh and comfortable for years.
FAQs About Washing Crocs
1. Can I wash Crocs with clothes in the same load?
Yes, but only with similar colours and soft items like towels to prevent damage.
2. What should I do if my Crocs shrink?
Try soaking them briefly in warm water and then wear them with thick socks to help stretch them out as they cool.
3. How often should Crocs be cleaned?
That depends on how often you wear them. I clean mine every two to three weeks on average.
4. Can bleach be used on Crocs?
No, bleach can damage the material and cause it to break down over time.
5. Why do Crocs still smell after washing?
If they’re not dried properly, moisture can remain trapped, which leads to odour. Try using baking soda or a vinegar rinse and ensure they dry fully.
by Kanimozhi BV | Feb 6, 2025 | Washing Machine, Appliances
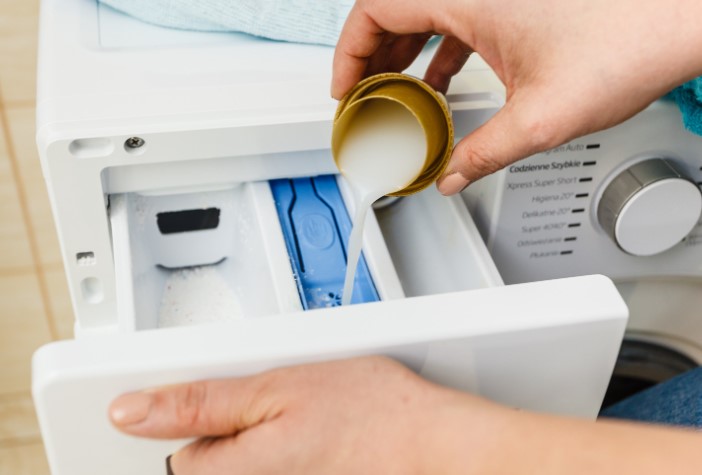
When using a Bosch washing machine, it’s essential to understand its washing machine detergent drawer to ensure optimal cleaning results. Many people wonder where does detergent go in a washing machine, and using the correct detergent drawer compartment is key to achieving fresh, stain-free laundry.
In this guide, I’ll answer what are the 3 compartments in a washing machine drawer bosch , how they function, and the best way to use them.
What Are the 3 Compartments in a Bosch Washing Machine Drawer?
The washing machine dispenser drawer in Bosch models typically has three compartments, each designed for a specific purpose:
- Pre-Wash Compartment – Marked ‘I’ or ‘1’
- Main Wash Compartment – Marked ‘II’ or ‘2’
- Fabric Softener Compartment – Marked with a flower symbol ‘✿’
1. Pre-Wash Compartment – What Does It Do?
This section of the washing machine drawer is meant for detergent used in the pre-wash cycle.
When Should I Use the Pre-Wash Compartment?
- Ideal for heavily soiled clothes.
- Helps loosen dirt before the main wash cycle.
- Typically used in longer washing programs.
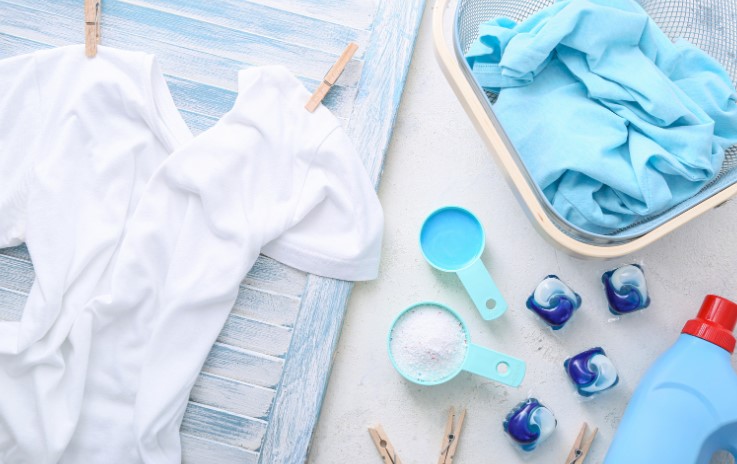
What Type of Detergent Should I Use?
- Only powder detergent is recommended.
- Avoid liquid detergent, as it might drain away before the wash cycle begins.
2. Main Wash Compartment – The Primary Cleaning Section
The most important part of the washing machine detergent drawer is the main wash compartment, which handles the core washing process.
Where Does Detergent Go in a Washing Machine?
- Powder or liquid detergent goes into this section.
- If using liquid detergent, check if your Bosch model has a detergent dosing system.
- Fabric softener should never be placed here.
What Are the Best Practices for Using This Compartment?
- Avoid overfilling to prevent detergent residue buildup.
- Follow the recommended detergent quantity for best cleaning results.
3. Fabric Softener Compartment – How It Works
The third compartment in the washing machine dispenser drawer is for fabric softener, designed to keep clothes soft and fresh.
How Much Fabric Softener Should I Use?
- Add up to the MAX line in the compartment.
- Avoid overfilling, as excess softener can clog the detergent drawer.
Can I Use Other Additives in This Compartment?
- No, this section is strictly for fabric softeners.
- Avoid putting detergent, bleach, or vinegar here.
How to Use the Bosch Washing Machine Detergent Drawer Properly?
To ensure effective washing, follow these simple steps:
- Open the washing machine detergent drawer fully.
- Add detergent to the correct compartment based on your wash cycle.
- Pour fabric softener (if needed) into the appropriate section.
- Close the drawer gently to avoid spills.
- Select your desired washing program and start the machine.
What are the Common Mistakes to Avoid?
- Using liquid detergent in the pre-wash compartment.
- Overloading the washing machine drawer, leading to leaks.
- Forgetting to clean the washing machine dispenser drawer, causing blockages.
How to Clean a Bosch Washing Machine Detergent Drawer?
Keeping your detergent drawer clean prevents buildup and maintains hygiene.
Step-by-Step Cleaning Guide
- Remove the washing machine drawer by gently pulling it out.
- Rinse each compartment with warm water.
- Use an old toothbrush to scrub away detergent residue.
- Wipe the drawer slot inside the machine.
- Let the washing machine dispenser drawer dry completely before reinserting it.
How Often Should I Clean the Drawer?
Conclusion
Understanding your Bosch washing machine detergent drawer is crucial for effective laundry results. By using the correct compartments, adding the right detergent, and maintaining the washing machine drawer, you can ensure a cleaner, fresher wash every time.
FAQs About Bosch Washing Machine Drawers
1. Can I Put Liquid Detergent in the Main Wash Compartment?
Yes, but ensure your Bosch model supports liquid detergent, or use a liquid detergent dispenser if available.
2. What Happens if I Put Detergent in the Wrong Compartment?
- If detergent goes into the fabric softener section, it may not dissolve properly.
- If softener is placed in the main wash section, clothes may feel greasy.
3. How Can I Prevent Detergent Residue in the Drawer?
- Use the right detergent quantity.
- Clean the detergent drawer regularly.
- Run an empty hot wash cycle monthly to remove buildup.
4. Can I put liquid detergent in the pre-wash compartment?
No, the pre-wash compartment is designed for powder detergent only. Liquid detergent may drain away before the cycle starts.
5. How do I know if I am using too much detergent?
If you notice excessive soap suds, residue on clothes, or detergent buildup in the washing machine dispenser drawer, you may be using too much detergent. Follow the recommended dosage.

by Kanimozhi BV | Feb 4, 2025 | Washing Machine, Appliances, DIY Ideas
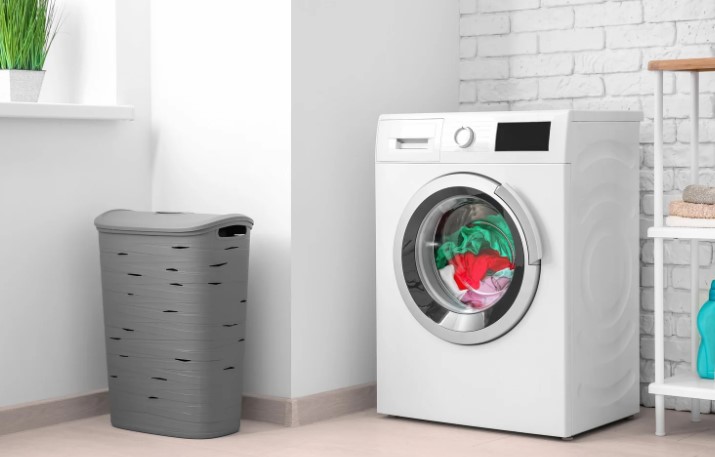
Having trouble with your Hoover washing machine not draining? If your washer has stopped mid-cycle and is flashing the E03 error code, you’re dealing with a drainage issue.
But don’t worry—this is a common problem, and in most cases, you can fix it yourself without calling a repair technician.
In this guide, I’ll explain:
- What the E03 error means
- Why your Hoover washing machine isn’t draining
- Step-by-step solutions to fix the error
- When to call a professional for help
By the end of this post, you’ll have your Hoover washer working properly again!
What Does the Hoover Washing Machine E03 Error Mean?
The Hoover E03 error code appears when the machine detects that water isn’t draining properly. This means that at the end of the wash cycle, the drum is still full of water instead of emptying out as it should.
What Happens When This E03 Error Occurs?
The good news is that this error is usually caused by a simple blockage in the drain system, which you can fix in a few easy steps.
Why Is My Hoover Washing Machine Not Draining?
If your Hoover washing machine is not draining, there are a few common reasons why:
1. Blocked Drain Pump
The drain pump removes water from the drum, but over time, debris like lint, coins, hairpins, and fabric fibres can clog it. If the pump is blocked, the water won’t drain properly.
2. Clogged Drain Hose
The drain hose carries wastewater from the washing machine to your home’s drainage system. If this hose is bent, twisted, or blocked, the water won’t be able to flow out.
3. Washing Machine Filter Blockage
The filter catches debris before it enters the drain pump. If it gets clogged, water won’t pass through properly, leading to drainage issues and the E03 error.
4. Faulty Drain Pump
In some cases, the drain pump itself may be broken. If the pump isn’t functioning, no amount of cleaning will fix the issue—it will need to be replaced.

How to Fix the Hoover Washing Machine E03 Error?
Follow these step-by-step solutions to fix the E03 error and get your machine draining properly again.
Step 1: Remove a Blockage from the Pump
The drain pump is one of the most common places for blockages to occur. Here’s how to check and clean it:
- Unplug the washing machine to avoid electrical hazards.
- Locate the drain pump filter—usually found at the bottom front of the machine behind a small panel.
- Place a towel and a shallow container under the filter to catch any excess water.
- Unscrew the filter cap and pull it out.
- Remove any visible debris, such as lint, coins, or small objects.
- Rinse the filter under running water and wipe away any dirt.
- Reinsert the filter securely and close the panel.
- Restart the machine to see if the issue is resolved.
Step 2: Inspect and Clear the Drain Hose
A clogged or kinked drain hose can prevent water from flowing out. Follow these steps to clear it:
- Turn off the machine and unplug it.
- Locate the drain hose at the back of the machine.
- Check for kinks or bends—straighten the hose if necessary.
- Disconnect the hose from the drainage pipe.
- Run warm water through the hose to remove any blockages.
- Reconnect the hose securely and test the machine.
Step 3: Clean the Washing Machine Filter
The filter plays a crucial role in trapping dirt and preventing blockages. If it’s clogged, your machine won’t drain properly.
- Locate the filter (usually at the front bottom of the washer).
- Open the filter cover and carefully unscrew the filter.
- Remove any trapped debris, such as lint, hair, or coins.
- Wash the filter under warm water.
- Replace it and secure it back in place.

Step 4: Reset the Hoover Washing Machine
If you’ve cleared the pump, hose, and filter but the E03 error still appears, try resetting the machine:
- Turn off the washing machine and unplug it.
- Wait 5–10 minutes to allow the system to reset.
- Plug the machine back in and turn it on.
- Run a short drain/spin cycle to check if the error is gone.
Hoover E03 Error but No Blockage – What to Do?
If you’ve checked for blockages and the E03 error still appears, the issue could be:
- A faulty drain pump—it may need replacement.
- A malfunctioning water level sensor—which isn’t detecting drainage properly.
- Electrical issues—such as faulty wiring or control board problems.
In this case, you may need to contact a professional repair service.
When Should You Call a Professional?
If you’ve tried all the DIY fixes and your Hoover washing machine is still not draining, it’s time to call an expert. Here are some signs you need professional help:
- The drain pump is broken and needs replacement.
- There’s a burning smell or unusual noises from the machine.
- Error codes keep appearing, even after resetting the washer.
Estimated Cost for Repairs in the UK
| Repair Type |
Estimated Cost (£) |
| Drain pump replacement |
£60 – £120 |
| Drain hose replacement |
£30 – £80 |
| Professional diagnosis |
£50 – £100 |
If your machine is out of warranty, compare repair costs with the price of a new washer.

Preventing the E03 Error in the Future
To avoid drainage problems, follow these maintenance tips:
- Clean the drain pump filter every 3 months.
- Check the drain hose regularly for kinks or clogs.
- Avoid overloading the washer—this can strain the pump.
- Use the correct detergent to prevent residue buildup.
Conclusion
The Hoover washing machine E03 error is usually caused by a blockage in the drain pump, hose, or filter. In most cases, you can fix the issue yourself by following the steps in this guide.
If the error persists and there’s no visible blockage, you may need a professional to inspect the pump or electrical components.
By maintaining your washing machine regularly, you can prevent drainage issues and keep your appliance running smoothly for years to come.
by Kanimozhi BV | Feb 3, 2025 | Washing Machine, Appliances
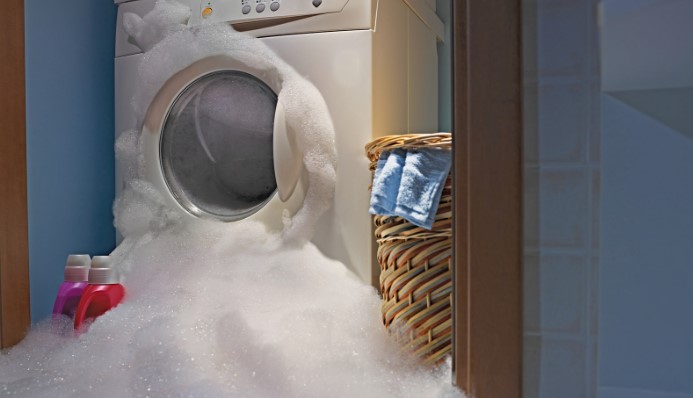
A leaking washing machine can be frustrating and concerning. If you notice water pooling underneath, it’s crucial to act quickly to prevent further damage to your appliance and flooring. Leaks can occur due to worn-out seals, clogged drains, or faulty hoses, and understanding the root cause is the first step toward fixing the issue.
This guide will help you identify why is your washing machine leaking from bottom and provide step-by-step solutions to fix it.
Why Is My Washing Machine Leaking From the Bottom?
Washing machines are designed to handle large volumes of water, but any malfunction can result in leakage. Common reasons include:
- Loose or damaged hoses that allow water to escape.
- Faulty or Blocked drain pump that prevents water from draining properly.
- Worn-out door seal in front-loading machines.
- Excessive detergent use, causing over-sudsing and leaks.
- Internal component failures, such as a broken tub seal.
Ignoring these issues can lead to water damage, mold growth, and costly repairs.
What are the Causes of a Washing Machine Leaking from the Bottom?
Faulty or Loose Water Supply Hoses
Water supply hoses connect your washing machine to your home’s plumbing. Over time, these hoses can become loose, cracked, or burst, causing leaks.
How to Fix Faulty or Loose Water Supply Hoses?
- Turn off the water supply.
- Inspect hoses for cracks or loose connections.
- Tighten connections or replace damaged hoses.
Clogged or Damaged Drain Pump
A drain pump removes water from the washing machine after each cycle. If it becomes clogged with lint, small objects, or debris, water may leak from the bottom.
How to Fix Clogged or Damaged Drain Pump?
- Locate the drain pump (usually behind a small door at the front).
- Place a towel underneath and remove the filter cap.
- Clean out any debris and check for cracks in the pump.
- If the pump is damaged, replace it.
Worn-Out Door Seal (For Front-Load Machines)
Front-load washing machines have a rubber gasket around the door that prevents leaks. Over time, this seal can wear out, crack, or develop mold, leading to water leakage.
How to Fix Worn-Out Door Seal?
- Inspect the rubber gasket for signs of wear.
- Clean it with a mild detergent to remove dirt and mold.
- If the seal is damaged, change it with a better one.
Detergent Overuse or Wrong Detergent Type
Using too much detergent or non-HE (high-efficiency) detergent in an HE machine creates excessive suds, which can overflow and leak from the bottom.
How to Fix Detergent Overuse or Wrong Detergent Type?
- Use the correct suitable type of detergent for your washing machine.
- Reduce the amount of detergent used per load.
- Run a rinse cycle to clear excess soap buildup.
Faulty Internal Hoses or Tub Seals
Internal hoses and tub seals prevent water from leaking inside the machine. If they are damaged or worn out, leaks can occur from underneath.
How to Fix Faulty Internal Hoses or Tub Seals?
- Remove the back panel to inspect internal hoses.
- Check for cracks or loose connections.
- Replace any damaged hoses or seals.
How to Fix a Washing Machine Leaking from Bottom?
Step 1: Turn Off the Machine and Unplug It
- Safety is the first priority.
- Unplug the washing machine and turn off the water supply before troubleshooting.
Step 2: Inspect Water Supply Hoses and Connections
- Check for leaks around the inlet hoses.
- Tighten loose connections or replace cracked hoses.
Step 3: Examine the Drain Pump and Filter
- Remove the filter and clean out any blockages.
- If the pump is faulty, replace it.
Step 4: Inspect the Door Seal for Damage
- Look for mold, cracks, or tears.
- Clean or replace the gasket if necessary.
Step 5: Check Internal Hoses and Tub Seals
- If the leak persists, internal components may be damaged.
- Consider calling a professional for repairs.
Preventing Future Washing Machine Leaks
Regular maintenance can help prevent leaks and extend the lifespan of your washing machine. Here are some tips:
- Check hoses and seals in a regular routine for wear and tear.
- Clean the drain pump filter every few months.
- Use the correct detergent to avoid over-sudsing.
- Ensure your washing machine is level to prevent strain on hoses and seals.
Table: Common Washing Machine Leaks and Fixes
| Leak Source |
Possible Cause |
Solution |
| Bottom of machine |
Clogged drain pump |
Clean or replace pump |
| Back of machine |
Loose water supply hose |
Tighten or replace hose |
| Front of machine (door) |
Worn-out door seal |
Clean or replace seal |
| Under the machine |
Faulty internal hose or tub seal |
Inspect and replace if needed |
| Excessive suds overflow |
Too much detergent used |
Use correct detergent amount |
When Should You Call a Professional?
Some leaks require professional repair, especially if:
- The tub seal is leaking, which requires major disassembly.
- There is significant water damage inside the machine.
- You have already tried troubleshooting but the leak persists.
In the UK, professional washing machine repair costs typically range from £50 to £150, depending on the issue. If your appliance is old, it may be more cost-effective to replace it instead of repairing it.
Conclusion
A washing machine leaking from the bottom can be caused by several issues, from loose hoses and clogged pumps to damaged door seals and excessive detergent use. By following the troubleshooting steps outlined in this guide, you can identify and fix the problem quickly.
Regular maintenance, proper detergent use, and timely inspections can prevent future leaks and keep your washing machine running efficiently. If the issue persists despite troubleshooting, consider seeking professional help.
Related Article: How Much Does a Washing Machine Weigh? Is Washer Heavy Weight?
