Are you looking for a guide on how to programme garage door remote? Programming a garage door remote might seem daunting at first, but with the right steps, you can have it up and running in no time. Whether you’ve just purchased a new remote or need to reprogram an existing one, this guide will walk you through the process step-by-step.
What Tools Do I Need to Program a Garage Door Remote?
Essential Tools
- Ladder: You’ll likely need to reach the garage door opener, so a ladder is essential.
- Remote Control: Have your garage door remote ready. If you’re programming multiple remotes, keep them all within reach.
- Screwdriver: Depending on your opener model, you might need this to access the control panel.
Optional Tools
- Flashlight: If your garage isn’t well-lit, a flashlight will help you see the control panel clearly.
- Safety Glasses: If you’re dealing with a ceiling-mounted opener, protective eyewear might be a good idea.
How Do I Identify the Correct Programming Method?
Identifying Your Garage Door Opener Type
The initial step is to identify the type & model of your garage door opener. Look for a label on the opener’s motor housing. This label will typically include the manufacturer’s name, model number, and other relevant details. Knowing this information is crucial because different models may have varying programming procedures.
Locate the Learn or Program Button
Most modern garage door openers have a Learn/Program button, often found on the back or side of the opener unit. This button is the key to syncing your remote with the opener. It’s usually behind the light cover or near the antenna wire. Once you’ve located the button, you’re ready to start the programming process.
Step-by-Step Guide on Programming Garage Door Remote
Step 1 – Prepare Your Garage Door Opener
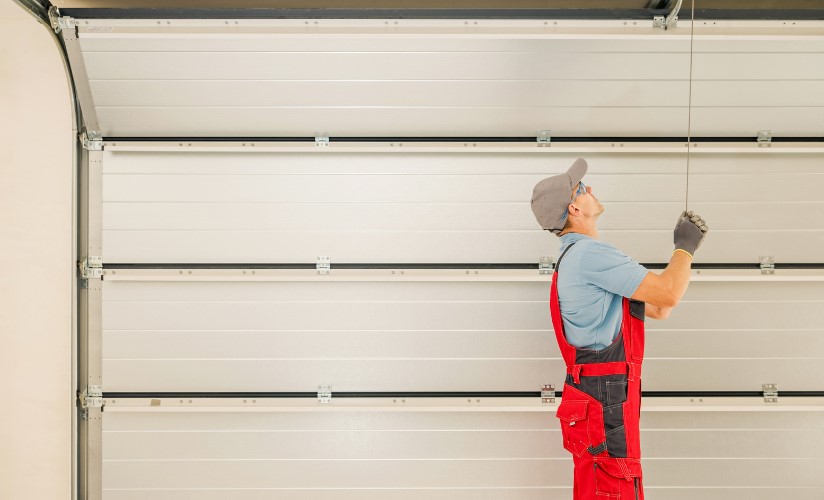
Start by placing your ladder underneath the garage door opener. Climb up and locate the Learn or Program button. Press and hold this button until the indicator light next to it begins to blink. This light signals that the opener is in programming mode and ready to receive the remote signal.
Step 2 – Syncing the Remote
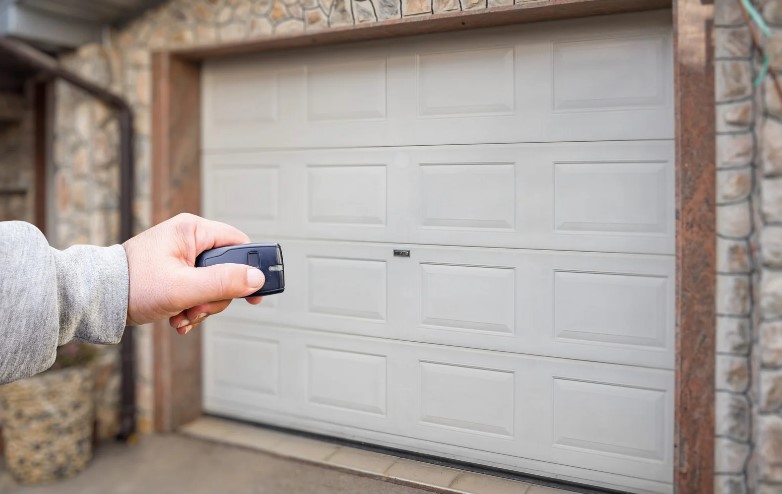
With the opener in programming mode, take your garage door remote and press the main button you want to use to operate the door. Hold the button for a few seconds. You should see the indicator light on the opener flash or hear a click, indicating that the remote has been successfully programmed.
Step 3 – Testing the Connection
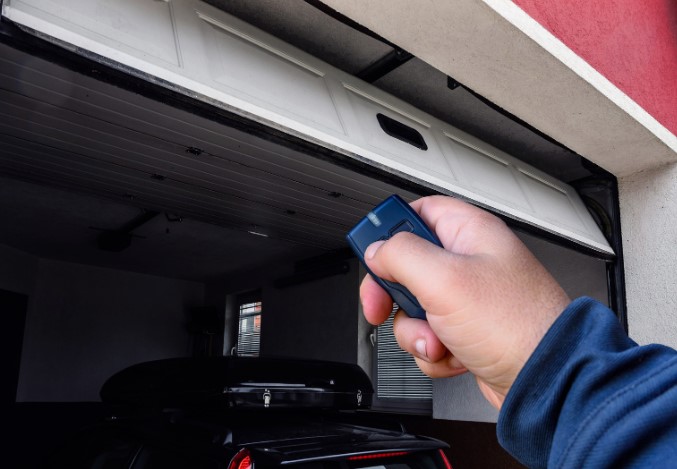
Once you’ve programmed the remote, now it is time to test it. Stand back from the door and press the button on your remote. If the door responds by opening or closing, you’ve successfully synced your remote. If it doesn’t work, you may need to repeat the steps or check for troubleshooting issues.
How Can I Troubleshoot Common Issues?
Even with careful programming, you might encounter a few hiccups. Here’s how to tackle common problems:
Remote Not Responding
If your garage door remote isn’t responding, start by:
- Checking the Battery: Ensure the battery is fresh and properly installed.
- Inspecting for Damage: Look ahead for visible signs of wear that could affect functionality.
- Resetting the Opener: Try unplugging the opener from the power source for 30 seconds, then plug it back in to reset the system.
Garage Door Opener Doesn’t Recognize Remote
Sometimes, even after programming, the remote isn’t recognized. This could be due to:
- Incompatible Models: Make sure your remote and opener are compatible.
- Memory Capacity Issues: Older openers may have limited memory, so consider upgrading if necessary.
Handling Remote Interference
External factors can interfere with your remote’s signal. Here’s what to do:
- Move Closer: Ensure you’re within range of the opener.
- Check for Interference: Devices like Wi-Fi routers can cause issues. Try turning off nearby devices temporarily.
- Remove Physical Obstructions: Ensure there’s a clear path between the remote and opener.
Additional Tips for Maintaining Your Garage Door Remote
To keep your garage door remote in good working condition, follow these maintenance tips:
Battery Maintenance
Replace your remote’s batteries regularly, even if they still seem functional. It’s a good idea to change them at least once a year to ensure consistent performance. Make sure the battery contacts are clean and good.
Cleaning the Remote
Dirt and grime can affect the remote’s performance. Clean it periodically with a soft, dry cloth. Avoid using water or abrasive cleaners, as these can damage the internal components.
Upgrading to a Smart Garage Door Opener
If you’re looking to enhance your garage door system, consider upgrading to a smart garage door opener. These systems allow you to control your garage door via a smartphone app, adding convenience and extra security features like real-time alerts.
Conclusion
Programming your garage door remote is a straightforward process that ensures easy and secure access to your garage. By following this guide, you’ll have your remote working in no time. Remember, regular maintenance and proper care will keep your remote functioning smoothly for years to come.
Frequently Asked Questions (FAQs)
1. Can I Program Multiple Remotes to One Opener?
Yes, most garage door openers support programming multiple remotes. Simply follow the programming steps again for each additional remote.
2. How Do I Reset My Garage Door Opener?
To reset the opener, press and hold the Learn button for approximately six seconds until the indicator light turns off. This will erase all previously programmed remotes and allow you to start fresh.
3. What If My Remote Is Lost or Stolen?
If your remote is lost or stolen, it’s crucial to reset your opener to erase the old remote from its memory. This prevents unauthorized access to your garage.


0 Comments