

- Understanding Drawers with Metal Glides and No Levers
- What are the Tools & Preparations Before Removing the Drawers?
- Step-by-Step Guide on How To Remove Drawers with Metal Glides and No Levers
- Troubleshooting Common Issues When Removing Drawers
- How to Reinsert the Drawer After Removal?
- What are the Tips to Maintain Drawers with Metal Glides?
- Conclusion
- Frequently Asked Questions (FAQs) on How to Remove Drawers with Metal Glides and No Levers
Drawers with metal glides and no levers can be tricky to remove, especially if you’re used to drawers with a quick-release mechanism. If you’ve ever tried pulling out a drawer only to find it stuck at a certain point, don’t worry—you’re not alone!
In this guide, I’ll walk you through how to remove drawers with metal glides and no levers safely without causing any damage. By the end, you’ll be able to slide out your drawers effortlessly and even troubleshoot common issues.
Understanding Drawers with Metal Glides and No Levers
What Are Metal Drawer Glides?
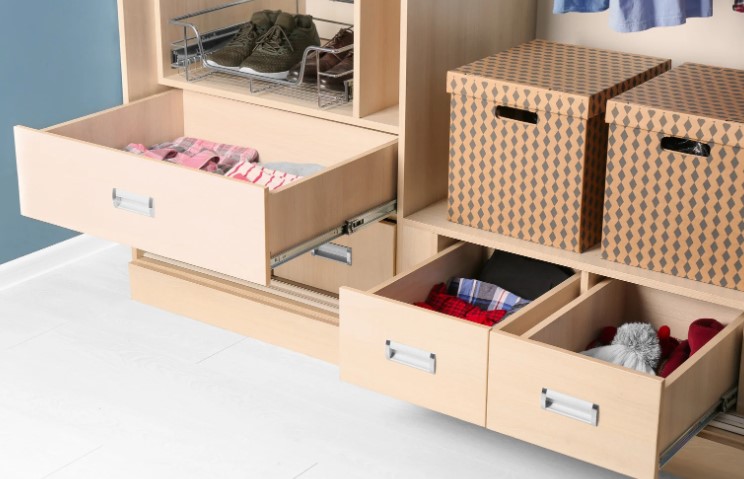
Metal drawer glides are tracks installed on the sides, center, or bottom of a drawer to allow smooth sliding in and out of a kitchen cabinet or dresser. They are durable, stable, and commonly found in modern furniture.
There are three common types of metal drawer slides:
| Type of Glide | Location | Removal Difficulty |
| Side-Mounted | On the sides of the drawer | Moderate |
| Center-Mounted | One metal track in the middle | Easy |
| Under-Mounted | Attached underneath the drawer | Moderate to Hard |
Why Do Some Drawers Have No Levers?
Some drawers come with quick-release levers, allowing for easy removal. However, not all manufacturers include this feature. Reasons why some drawers lack levers include:
- Cost-saving design – Simpler construction without extra parts.
- Older furniture models – Many traditional dressers and cabinets don’t use levers.
- Tighter fit for stability – Some brands prefer to keep drawers securely in place without a release mechanism.
What are the Tools & Preparations Before Removing the Drawers?
Before you start, it’s a good idea to gather a few tools to make the process easier.
Tools You May Need:
- Flashlight – To inspect the drawer track clearly.
- Screwdriver – In case there are screws securing the drawer.
- Gloves – To improve grip and avoid scratches.
Checking the Drawer Mechanism
- Fully extend the drawer to inspect the tracks.
- Look for screws, built-in stops, or brackets that may be preventing removal.
- Identify whether it has side-mounted, center-mounted, or under-mounted glides.
Step-by-Step Guide on How To Remove Drawers with Metal Glides and No Levers
Step 1 – Open the Drawer Fully
Pull the drawer as far as it will go without applying too much force. If it stops, don’t yank it—this could damage the rails.
Step 2 – Lift or Tilt the Drawer
Many drawers with no levers require lifting slightly to remove them. Try:
- Lifting the front slightly upwards to release the drawer.
- Tilting the drawer at a slight angle while pulling forward.
Step 3 – Apply Gentle Force
If the drawer resists, try wiggling it slightly side to side as you pull. Be patient—some drawers may need a gentle rocking motion to disengage from the rails.
Step 4 – Check for Screws or Stops
- Some metal glides have small screws or plastic stoppers that prevent the drawer from coming out completely.
- If screws are present, remove them with a screwdriver before attempting to pull the drawer out again.
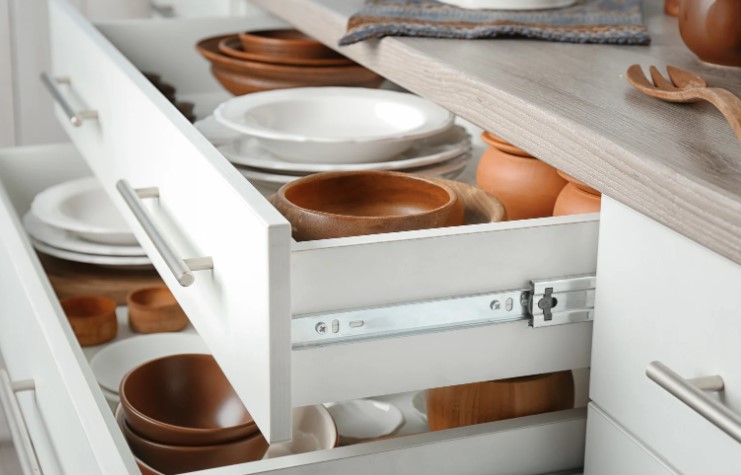
Step 5 – Pull the Drawer Out Completely
Once the drawer is free from the glides, slide it out carefully and evenly to avoid damaging the tracks.
Troubleshooting Common Issues When Removing Drawers
Drawer Feels Stuck – What to Do?
- Check for debris – Sometimes, dirt or objects inside the track can block movement.
- Apply lubrication – A little WD-40 or silicone spray can help.
The Drawer Won’t Lift or Tilt – Alternative Methods
- Press the sides inward slightly while pulling.
- Use a rubber mallet or gentle tapping to loosen tight glides.
How to Reinsert the Drawer After Removal?
Aligning the Drawer with the Metal Glides
- Hold the drawer level and line up the glides with the tracks.
- Gently push it back in, ensuring both sides enter at the same time.
Checking for Smooth Operation
- Slide the drawer in and out a few times to make sure it’s aligned properly.
- If it sticks, reposition the tracks or apply lubricant.
What are the Tips to Maintain Drawers with Metal Glides?
Regular Cleaning
- Use a dry cloth or compressed air to remove dust and debris.
Lubricating the Tracks for Smooth Sliding
- Apply silicone-based lubricant or WD-40 to keep glides moving smoothly.
Checking for Loose Screws or Damaged Glides
- Tighten any loose screws with a screwdriver.
- If glides are bent or broken, consider replacing them.
Conclusion
Removing drawers with metal glides and no levers may seem tricky, but with the right technique, it’s actually quite simple.
By following this guide on how to remove drawers with metal glides and no levers, you can safely remove your drawers without damaging the tracks or furniture.
If you ever find a drawer stuck or difficult to remove, don’t force it—just try lifting, tilting, or checking for hidden stops. And remember, regular maintenance will keep your drawers sliding smoothly for years to come.
Related Article: How to Clean Washing Machine Drawer? Easy Home Remedies
Frequently Asked Questions (FAQs) on How to Remove Drawers with Metal Glides and No Levers
1. How do I know if my drawer has metal glides?
- Look on the sides, bottom, or center of the drawer for metal tracks.
- If the drawer slides smoothly on a rail, it likely has metal glides.
2. What if my drawer is stuck and won’t budge?
- Pull both sides evenly to avoid tilting.
- Use a flashlight to check for obstructions or screws.
3. Can I remove metal-glide drawers without tools?
- Yes! In most cases, you can remove them by lifting and tilting.
- If screws are holding the drawer, a screwdriver may be needed.
4. How do I prevent my drawers from getting stuck again?
- Clean the tracks regularly.
- Apply lubrication to prevent friction.
5. Can I replace metal drawer glides if they’re damaged?
- Yes, you can buy replacement metal glides at hardware stores.
- Use a screwdriver to remove old glides and install new ones.
0 Comments