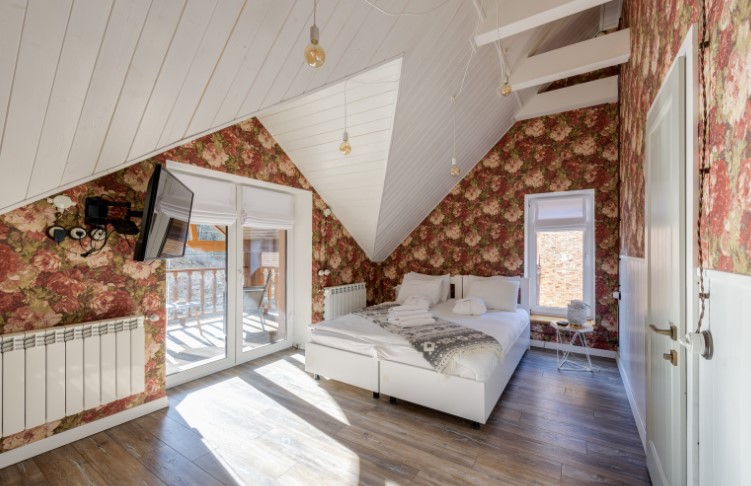
Wallpapering around a window can be tricky, but with the right approach, tools, and patience, you can achieve professional-looking results. Windows often require precise cutting, careful pasting, and seamless pattern matching to ensure a smooth finish and a beautiful look when hanging paintings on walls.
This detailed guide will help you master, how to wallpaper around a window, whether they are standard rectangular windows, bay windows, or have a deep recess.
Step-By-Step Guide On How To Wallpaper Around a Window
Step 1: Gather Your Tools
Before you begin, make sure you have all the tools necessary to complete the job efficiently.
- Wallpaper and paste
- Sharp wallpaper scissors or utility knife
- Tape measure and ruler
- Seam roller (optional but useful)
- Sponge and water bucket for cleaning excess paste
- Wallpaper smoother or brush
- Plumb line or laser level (to ensure wallpaper is straight)
Having these tools at hand will ensure that the process runs smoothly and avoids any delays.
Step 2: Measure and Cut the Wallpaper
Proper wallpaper measurement is the first crucial step for wallpapering around a window.
- Measure the window area: Measure the area above and below the window frame, including the depth of the recess if you have one. This makes you to decide on how many rolls of wallpaper is needed.
- Cut the wallpaper strip: Cut the wallpaper strip slightly longer than needed, leaving extra paper for trimming. Always cut it long enough to cover the window area plus a few extra inches to ensure a perfect fit. This gives you more room to adjust the paper as needed.
- Mark and cut around the window: For no-recess windows, hang the wallpaper straight across the window, making small slits in the wallpaper where the window’s corners meet. If the window has a recess, cut extra strips for this area, ensuring that they extend slightly beyond the recess for trimming later.
Step 3: Start Wallpapering
Once your wallpaper is measured and cut, it’s time to hang it.
- Hang the first strip: Begin at the top of the wall and work your way down, using a plumb line to ensure the wallpaper hangs straight.
- Press and smooth the paper: Gently press the wallpaper against the wall, smoothing out air bubbles with a brush or smoother as you go.
- Make relief cuts around the window: As you reach the window, make small diagonal cuts at the corners to allow the wallpaper to fold into the recess neatly.
Tips for smoother application:
- Always work from the top down to prevent the wallpaper from sagging.
- Use a sharp utility knife for cutting precise edges around the window frame and sill.
- Don’t forget to double-check for air bubbles by smoothing from the center out toward the edges.
Step 4: Wallpaper the Window Recess (If Applicable)
For windows with recesses, extra care is needed.
- Cut strips for the recess: Measure the depth of the window recess and cut strips to fit. Leave an extra inch or so around the edges to allow for adjustments.
- Paste and hang: Apply paste to the wall inside the recess and gently hang the wallpaper strips inside. Smooth the edges with a seam roller for a neat, crisp finish.
- Trim excess paper: Use a sharp utility knife to trim the excess wallpaper where it meets the window frame. Make sure that you press the paper into the corners before cutting for the best result.
Step 5: Finish Around the Window Frame
Now that the wallpaper is positioned around the window, you can focus on getting clean edges.
- Trim the excess: Use a straight edge or ruler to press the wallpaper into the corners of the window frame and then trim the excess with a sharp knife.
- Tuck in edges: Use a seam roller or the back of your scissors to firmly press the wallpaper along the window frame’s edges.
- Clean up: Wipe away any excess paste or blu tack in walls with a damp sponge, especially around the window frame, to ensure a clean finish.

Step 6: Smooth Out the Seams
Once the wallpaper is in place, focus on the seams:
- Butt the seams together: Avoid overlapping wallpaper seams. Instead, butt them tightly together for a seamless look.
- Use a seam roller: If necessary, run a seam roller over the edges to ensure they stick well and won’t peel over time.
Step 7: Check for Air Bubbles and Final Adjustments
After hanging the wallpaper, check the entire area for air bubbles or wrinkles.
- Smooth the wallpaper: If you notice any bubbles, use a smoother or dry sponge, pressing them outwards toward the edge of the paper.
- Let the wallpaper dry: Allow the wallpaper to fully dry before making any further adjustments, especially if you plan to install curtain poles or blinds. This ensures that the wallpaper doesn’t rip or peel.
Tips for Wallpapering Different Window Types
Different windows may require slightly different approaches:
- Rectangular Windows: The most straightforward to wallpaper around, just ensure you make precise cuts around the frame.
- Bay Windows: Treat each panel of the bay window as a separate wall and be extra cautious when matching patterns at the corners.
- Sash Windows: Pay close attention to the moving parts of the window, trimming neatly around the sash without getting paste on the mechanism.
- Skylights: Secure the wallpaper firmly around skylight edges to prevent peeling over time.
- Arched Windows: Cut the wallpaper into sections to fit the curve, and use relief cuts to prevent tearing.
Conclusion
Wallpapering around windows can be a challenging task, but by following these step-by-step instructions on how to wallpaper around a window, you can achieve a polished, professional finish.
The key is careful measurement, precise cutting, and taking your time to smooth out the paper and align patterns. With patience and the right tools, even tricky window areas can look flawless.
FAQs
1. What should I do if I get air bubbles while wallpapering?
To remove air bubbles, gently smooth them out from the center of the wallpaper towards the edges using a wallpaper smoother or a dry sponge. Make sure to apply even pressure to avoid creasing the paper.
2. Can I wallpaper over a window with a radiator underneath?
Yes, you can wallpaper above a radiator. However, make sure the radiator is turned off and has cooled down before applying wallpaper to avoid drying the paste too quickly.
3. How do I wallpaper around a deep window recess?
For a deep window recess, measure the depth and cut smaller strips of wallpaper to fit the recess. Apply extra paste to ensure it adheres properly, and smooth it out with a seam roller for a crisp finish.
4. Should I overlap wallpaper at the corners?
In general, it’s better to butt wallpaper seams together to avoid visible overlaps. However, for tricky areas like corners or deep recesses, a slight overlap of about 5mm can help create a neat finish.


0 Comments